Last Updated on October 6, 2023
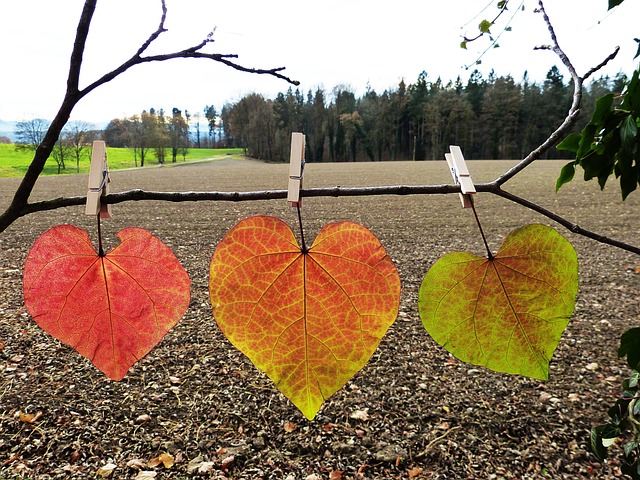
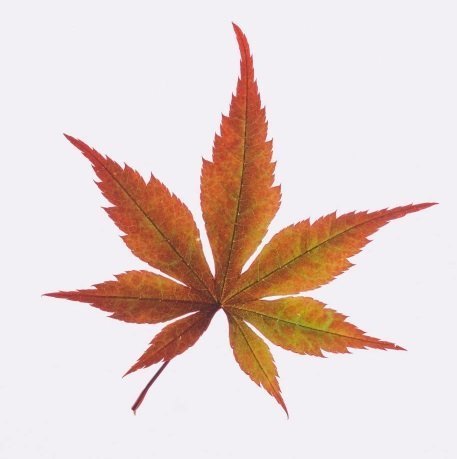
Discover 6 easy do-it-yourself ways to preserve leaves.
The described methods work well for both: green leaves picked from the tree, and fresh fallen autumn leaves.
Key takeaways:
You will learn 6 simple ways to preserve leaves and use the one that suits your needs best.
The first 3 methods will result in flat pressed leaves that can be used for making fall art pictures, bookmarks, placemats, scrapbooking – anywhere that the leaves must be flat.
The next 3 methods will produce pliable, flexible, live looking leaves that are good to place in vases, use for wreaths and garlands, front porch decorations, tablescapes, toss as eco-friendly potpourri at weddings, etc.
This post may contain affiliate links which means that if you click and make a purchase through the link – I earn a commission at NO extra cost to you.
Have you checked prices for preserved leaves on Etsy lately?
10 maple leaves are selling starting from $8 and up. That is quite expensive, don’t you think?
It makes perfect sense to learn how to preserve leaves by yourself for all your arts & crafts projects and decor needs in order to save some money (and have a delightful family activity).
And the thing is – leaf preservation is pretty easy.
Are you ready?
Let’s dive in and have fun!
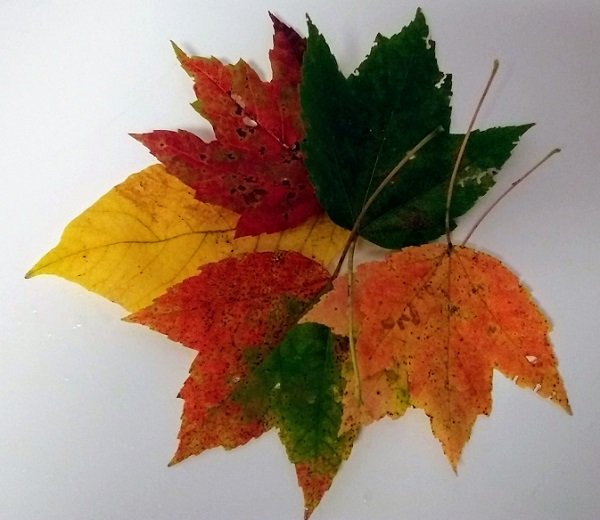
Pressed leaves
1. How to press leaves using a book
This is the simplest method that almost everybody knows from childhood.
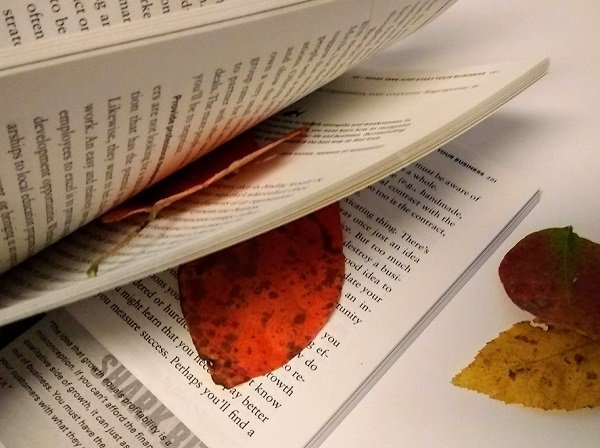
Step by Step Instructions
- Pick nice-looking green or autumn leaves in your backyard.
- Place leaves (one by one) between the pages of an old book (use a book you do not care much about).
- Place the book tightly between other books on the bookshelf and forget about it for a week or longer.
- Alternatively, you can
- Place waxed paper or parchment on a hard surface (desk, table, coffee table, etc.).
- Spread your leaves in one row the way they will not overlap each other.
- Cover leaves with another sheet of paper.
- Place heavy books on top of leaves to hold them down (encyclopedias and college books work well for this task – heavy knowledge 😄).
How long does it take to press leaves in a book?
I checked my small size green maple leaves pressed in a book after 3 days and they looked dry and flat. But I would say, better wait 2 weeks before using pressed leaves, especially large ones, to ensure that their edges will not curl.
The result:
👍🏼 crisp, dry, flat , nice smelling leaves,
👎🏼 it takes a long time to get them pressed, so cannot decorate with them on a whim,
- leaves can become brittle, crumple, and lose color with time.
- pressed leaves do not look realistic in bouquet arrangements.
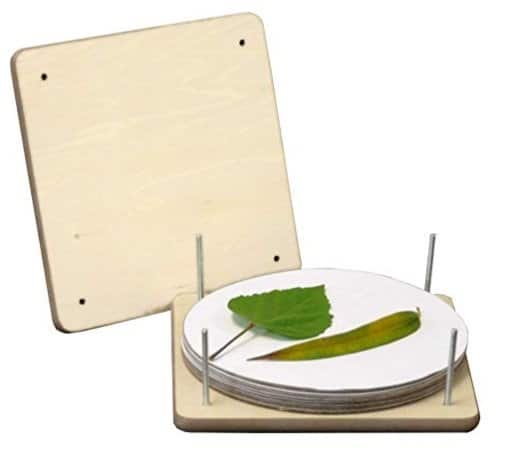
2. Press leaves using a leaf and flower press
To simplify the leaf pressing task you can get leaf and flower press from Amazon or build your own.
There are several models of leaf and flower press, but the most convenient one has adjustable wing nuts, and it is so much fun to use for kids.
By the way, a leaf press can make a delightful birthday or Christmas gift, don’t you think?
3. Pressing leaves with an iron
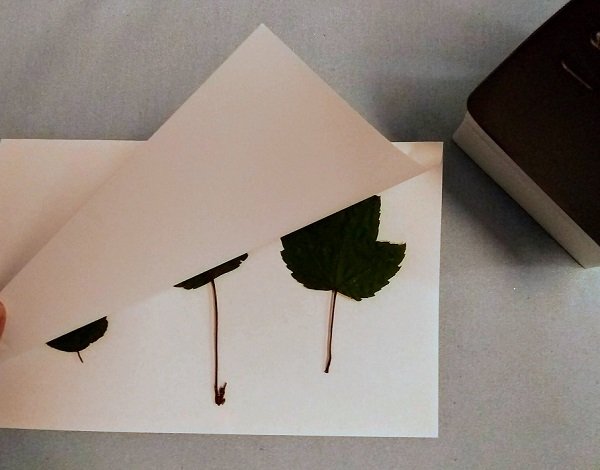
Step by Step Instructions
- Gather leaves you want to press. Pat them dry with paper towels.
- Set your iron on medium-low heat first in order to slowly drive moisture out of leaves and prevent wrinkling.
- Fold a sheet of paper in half and place the leaf inside (to protect the ironing board and the iron from stains).
- Place the heated iron on top of the paper and slightly wiggle it for 1 minute.
- Raise iron temperature to medium-high (dry heat, no steam setting) and continue pressing for 2 minutes longer. Keep moving iron over the sheet of paper all the time.
The result:
👍🏼 crisp, dry, flat, nice smelling leaves,
- you will get pressed leaves in 3-5 minutes, no need to wait as with pressing in a book or leaf press method.
👎🏼 leaves can become brittle, crumple, and lose color with time.
- pressed leaves do not look realistic in bouquet arrangements.
Preserved Pliable Leaves
4. Preserving leaves by using Mod Podge
Do you know what Mod Podge is?
It is an all in one water based brushable white hobby glue , sealer, and finish that becomes clear and flexible when it dries.
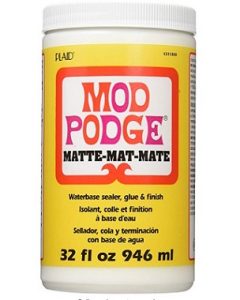
Mod Podge sealer – offered by Amazon.
In order to preserve leaves using this glue, follow the next steps:
Step by Step Instructions
- Get the leaves you want to preserve.
- Spread a sheet of paper (you can use wrapping, waxed, butcher paper, or used sheets of printing paper).
- Place leaves on top of the paper.
- Use a foam brush (in order not to see streaks on dry leaves) to spread the glue over one side of the leaf. Alternatively, you can use Mod Podge spray.
- Pick up the leaf by its stem and move to a clean sheet of paper to dry (so it will not get glued to the surface).
- After it dries for 5 minutes – turn the leaf around and brush glue over the other side. Again, after brushing glue – pick up the leaf and move it to a fresh area that is free from glue for drying.
5. How to make waxed fall leaves
Some tips before instructions.
If you are into candle making – then most likely you have paraffin wax at home, so making waxed leaves will not be an extra expense for you.
Be sure to wipe the leaves with a paper towel so they are dry before waxing.
For making waxed leaves you will need to melt paraffin in a dedicated pot (this pot should not be used for cooking food anymore- so find an old pot).
Step by Step Instructions
- Slowly melt wax on low heat until it becomes liquid.
- Dip leaf into wax (while holding it by the stem) and let it dry (you can secure it with a clothespin on your clothesline).
- If you are unhappy with the result – repeat the process – double dipping is allowed 😃
The result:
👍🏼 pliable leaf that should last for quite a few years and hold color pretty good.
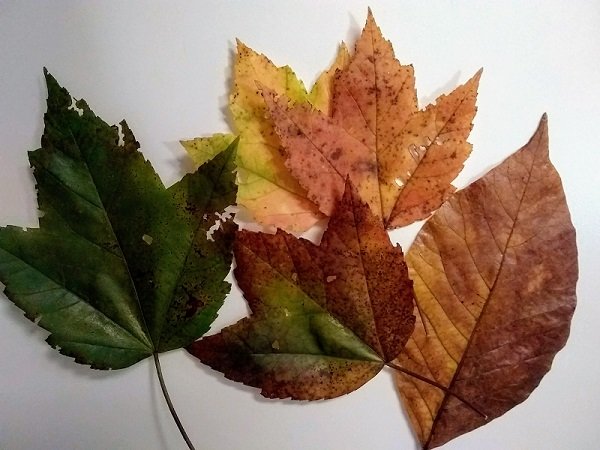
6. How to preserve leaves with glycerin
Small or medium size leaves work best for this project – especially great results can be achieved with yellow maple leaves.
You can get glycerin in the baking section of a grocery store, skincare section of a drugstore (Walgreen, Rite-Aid if you live in the U.S.A), hobby stores ( Michael’s, Hobby Lobby), or get glycerin online on Amazon.

Step by Step Instructions
- Mix ½ cup of glycerin with 1 cup of warm water. The solution will look cloudy in the beginning but continue stirring until solution becomes clear. At this point – the solution is well mixed.
- Optionally, add and stir in 1/2 teaspoon of food coloring (red, green or yellow, depending on your leaves color) to the above solution for color enhancement of the leaves.
- Pour mixture into 1 gallon bag with zipper.
- Make a fresh cut on the stem of the leaves to insure that solution can be soaked in easily.
- Add leaves to the bag, so they are fully submerged in glycerin/water solution.
- Remove all air out of the bag.
- Leave the bag laying flat for 4 days.
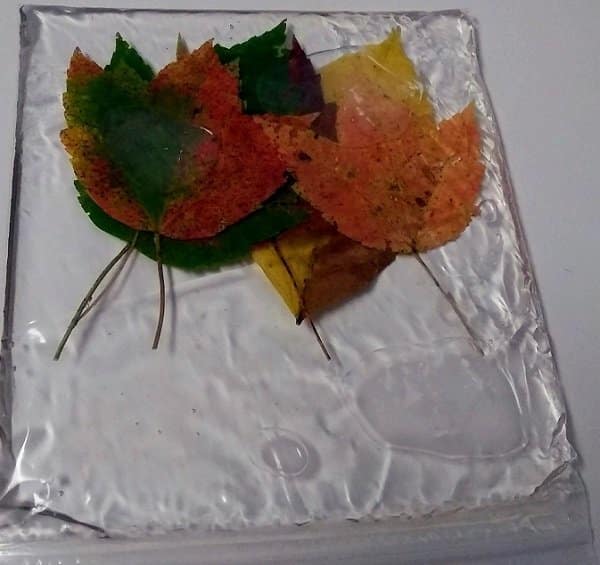
8. After 4 days have passed, remove the leaves from the bag and wipe them carefully with paper towel.
The leaves will be flexible and almost “see through” when held to the light. Red color will become almost brown, green leaves will darken too. The yellow maple leaves retained their color the best.
Alternatively, you can pour glycerin/water solution in a shallow dish, submerge the leaves, cover them with a plate or saucer and put a weight on the top (in order for the leaves to stay fully submerged).
Also, you can preserve evergreen branches or tree branches with leaves on them using glycerin. You just place fresh cutted branches into a vase filled with ½ cup of glycerin and 1 cup of water solution.
The result:
👍🏼 you will get flexible, shiny, bright leaves
👎🏼 leaves to some degree might look artificial
Related reading:
Final thoughts on leaf preservation methods
There you have it – 6 simple ways to preserve leaves.
In order to figure out which leaf preservation method to use, first decide the intended purpose for the preserved leaves.
I hope you have learned how to preserve fall leaves as well as how to preserve green leaves.
If you need dry leaves for art projects, use pressed leaf methods: book, leaf press, ironing.
If your want to decorate with leaves where they need to be pliable, use Mod Podge, wax, or glycerin.
As you see – preserving leaves are easy! So, unleash your creativity and have fun! 🍁

Pin for later reference!
You have read: